SIZE GUIDE - CLOTHING & SHOES
This is what you need to glue table tennis rubber:

1. Apply glue to the rubber and use the glue applicator to achieve a smooth surface. We recommend STIGA’s water-based glue.
2. Do the same on the blade. It is important to only apply a thin layer on the blade as the water-based glue can soften the top ply with each application.
3. The optimal playing characteristics are achieved by applying two twin layers of glue on the rubber and one thin layer on the blade surface.
4. Allow the glue to dry until it becomes completely transparent. This should take around 20 minutes.
5. Place the blade on a table with the glued side facing upwards.
NOTE: If you put on the rubbers before the glue is completely dry it may affect the adhesion and playing characteristics.
6. Take the glued rubber and, starting from the shaft of the blade, roll the rubber outwards. Use the rolling pin or ball tube to ensure that the rubber has a completely smooth surface, without any bubbles. The rolling pin also helps to ensure that the rubber adheres properly to the blade.
7. Cut off any excess rubber with a sharp scissor. Be carful and avoid cutting the fragile edges of the wood.
8. Repeat steps 1-5 on the other side of the blade.
9. Finish by gluing the edge tape or edge protector onto the racket.
HOW TO REMOVE YOUR RUBBERS
Replace rubbers regularly! It is important to regularly replace the rubbers, as a worn rubber will not provide enough grip and will negatively impact the playing technique. When removing the rubbers, always begin at the handle and peel them off diagonally and upward across the blade. Since the outer veneer is delicate and fragile, it is crucial to exercise caution to prevent damaging the blade. It should take at least 15 seconds to remove each rubber. If you want to re-use the same blade and rubbers it is important to also clean the blade and rubber by rubbing it, as glue may be present from previous applications. A piece of peeled rubber can be used for this task. The blade surface should feel smooth before applying a new layer of glue.
SIZE GUIDE - CLOTHING & SHOES
HOW TO PROTECT AND STORE YOUR RACKET
Lifespan of rubbers
The lifespan of a rubber depends on many factors, such as play time or intensity of training. The more you practice, the faster the rubber can wear out. When not in use for a longer period, a rubber can also lose elasticity. We recommend replacing a rubber regularly depending on usage time.
We recommend all to use edge tape or Protect for extra protection of the blade and rubbers.
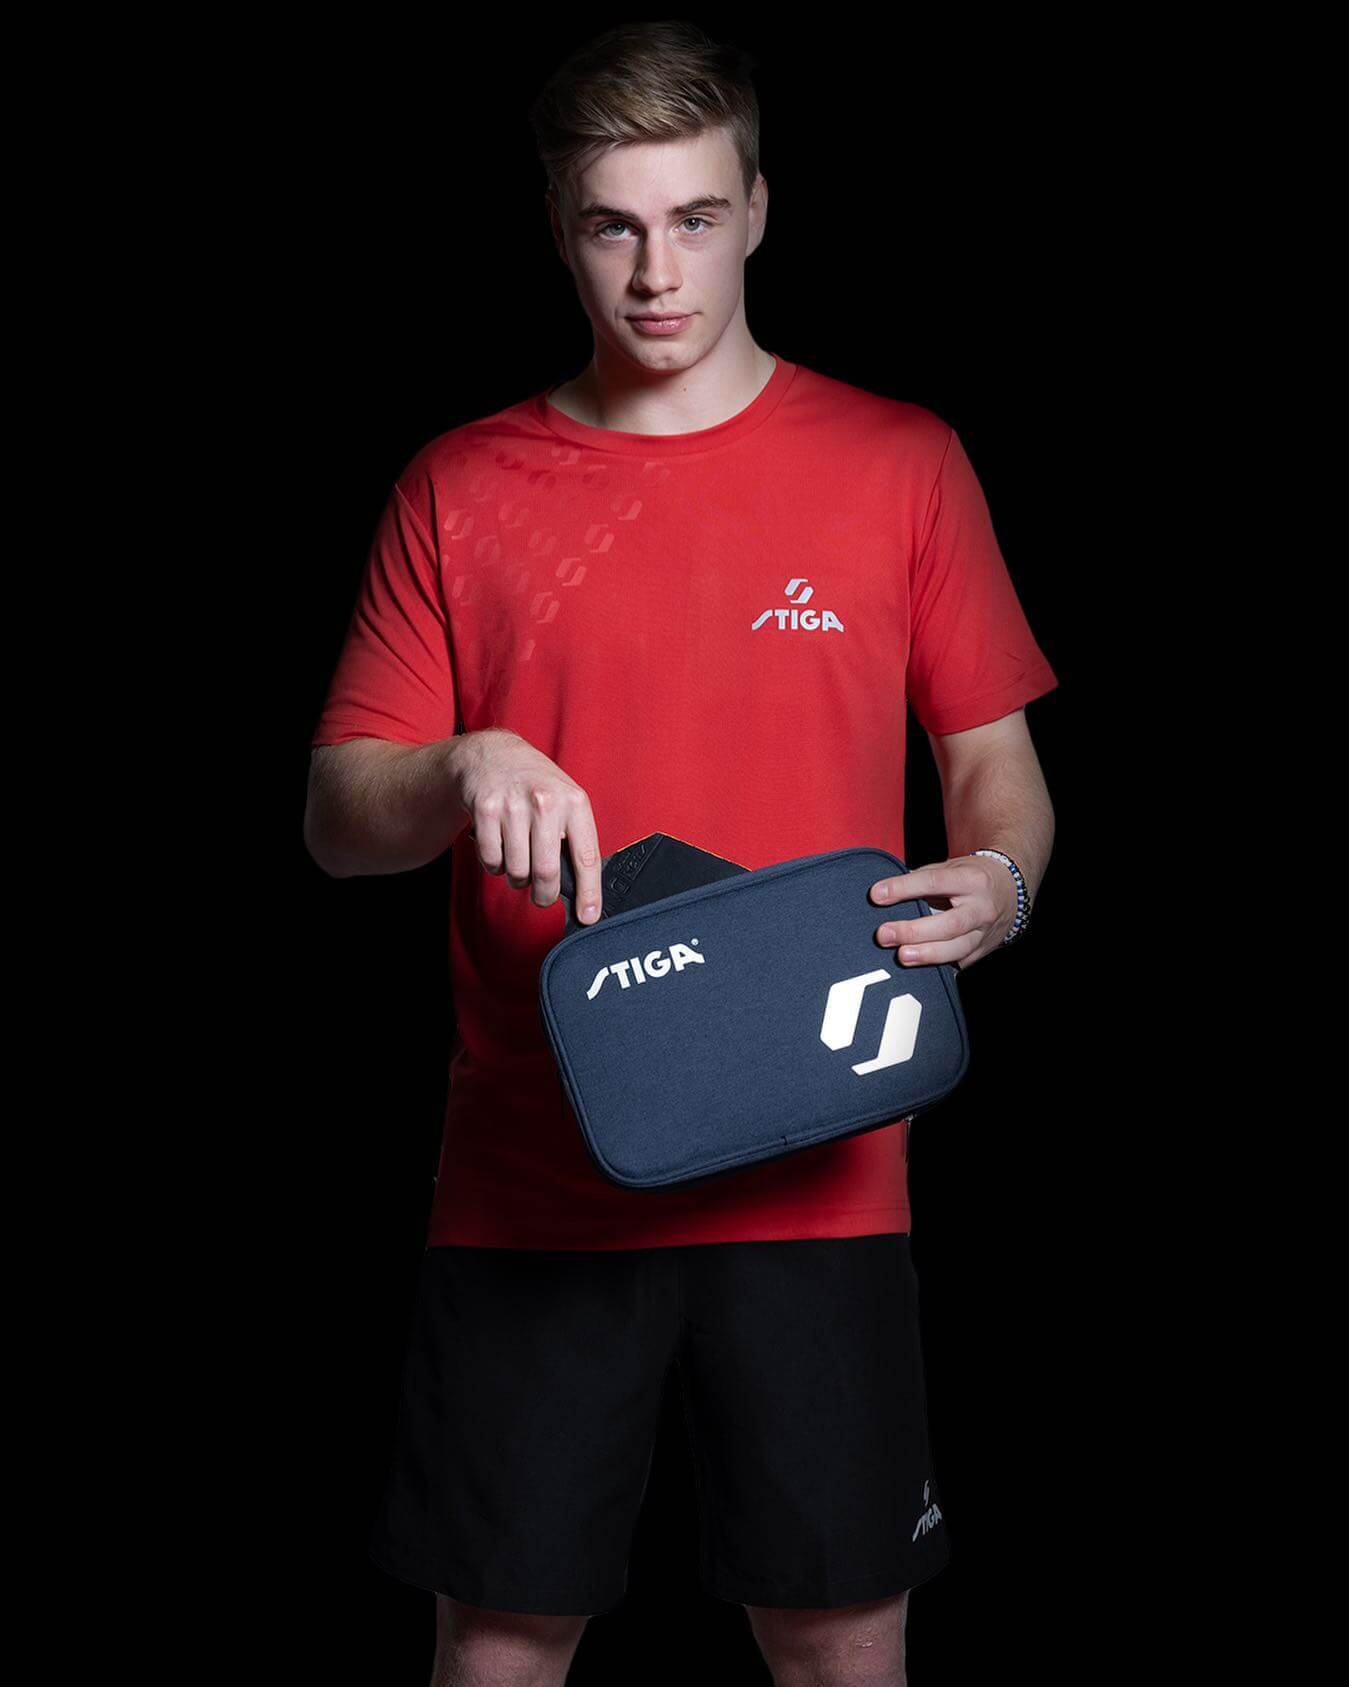
Once you have glued the rubber yourself, it is important to take care of it. In order to maintain the highest quality and performance, protect the rubber from dust, moisture and sunlight by using protective film and store your racket in a bat wallet or bat cover after training and matches.
Rubber clean is also usable for extra protection of the rubber surface to remove dust and dirt which prolongs the lifetime.


